Greetings godly sisters!
Today I am going to share what you can do to fulfill the Lord's command to cover your head and hair.
The way I prefer is a large square of lightweight fabric folded in half diagonally and then tied at the neck.
Another way is a pre-tied slip on one made of knit fabric (to provide some stretch to get it on easier)....
And just in case it can help someone, a clip like this really helps hold your hair up in a bun all day.
So I want to show you how you can sew these coverings yourself if you have opportunity. (If not, I can sew them for you or find some on my store here.)
Here is the first and easiest way. A simple square of lightweight fabric. I use 100% cotton voile or lawn fabric.
Make sure you cut a really straight and square edge as your starting point to measure the rest from. I usually make mine around 75cm (30 inches) square. You can go larger, but a little smaller if your fabric is narrower could work for women with not a lot of hair or for girls. (Add a little for hem allowance when cutting.)
When cut you can briefly fold it into a triangle to see if it's a reasonably good square and it should line up.
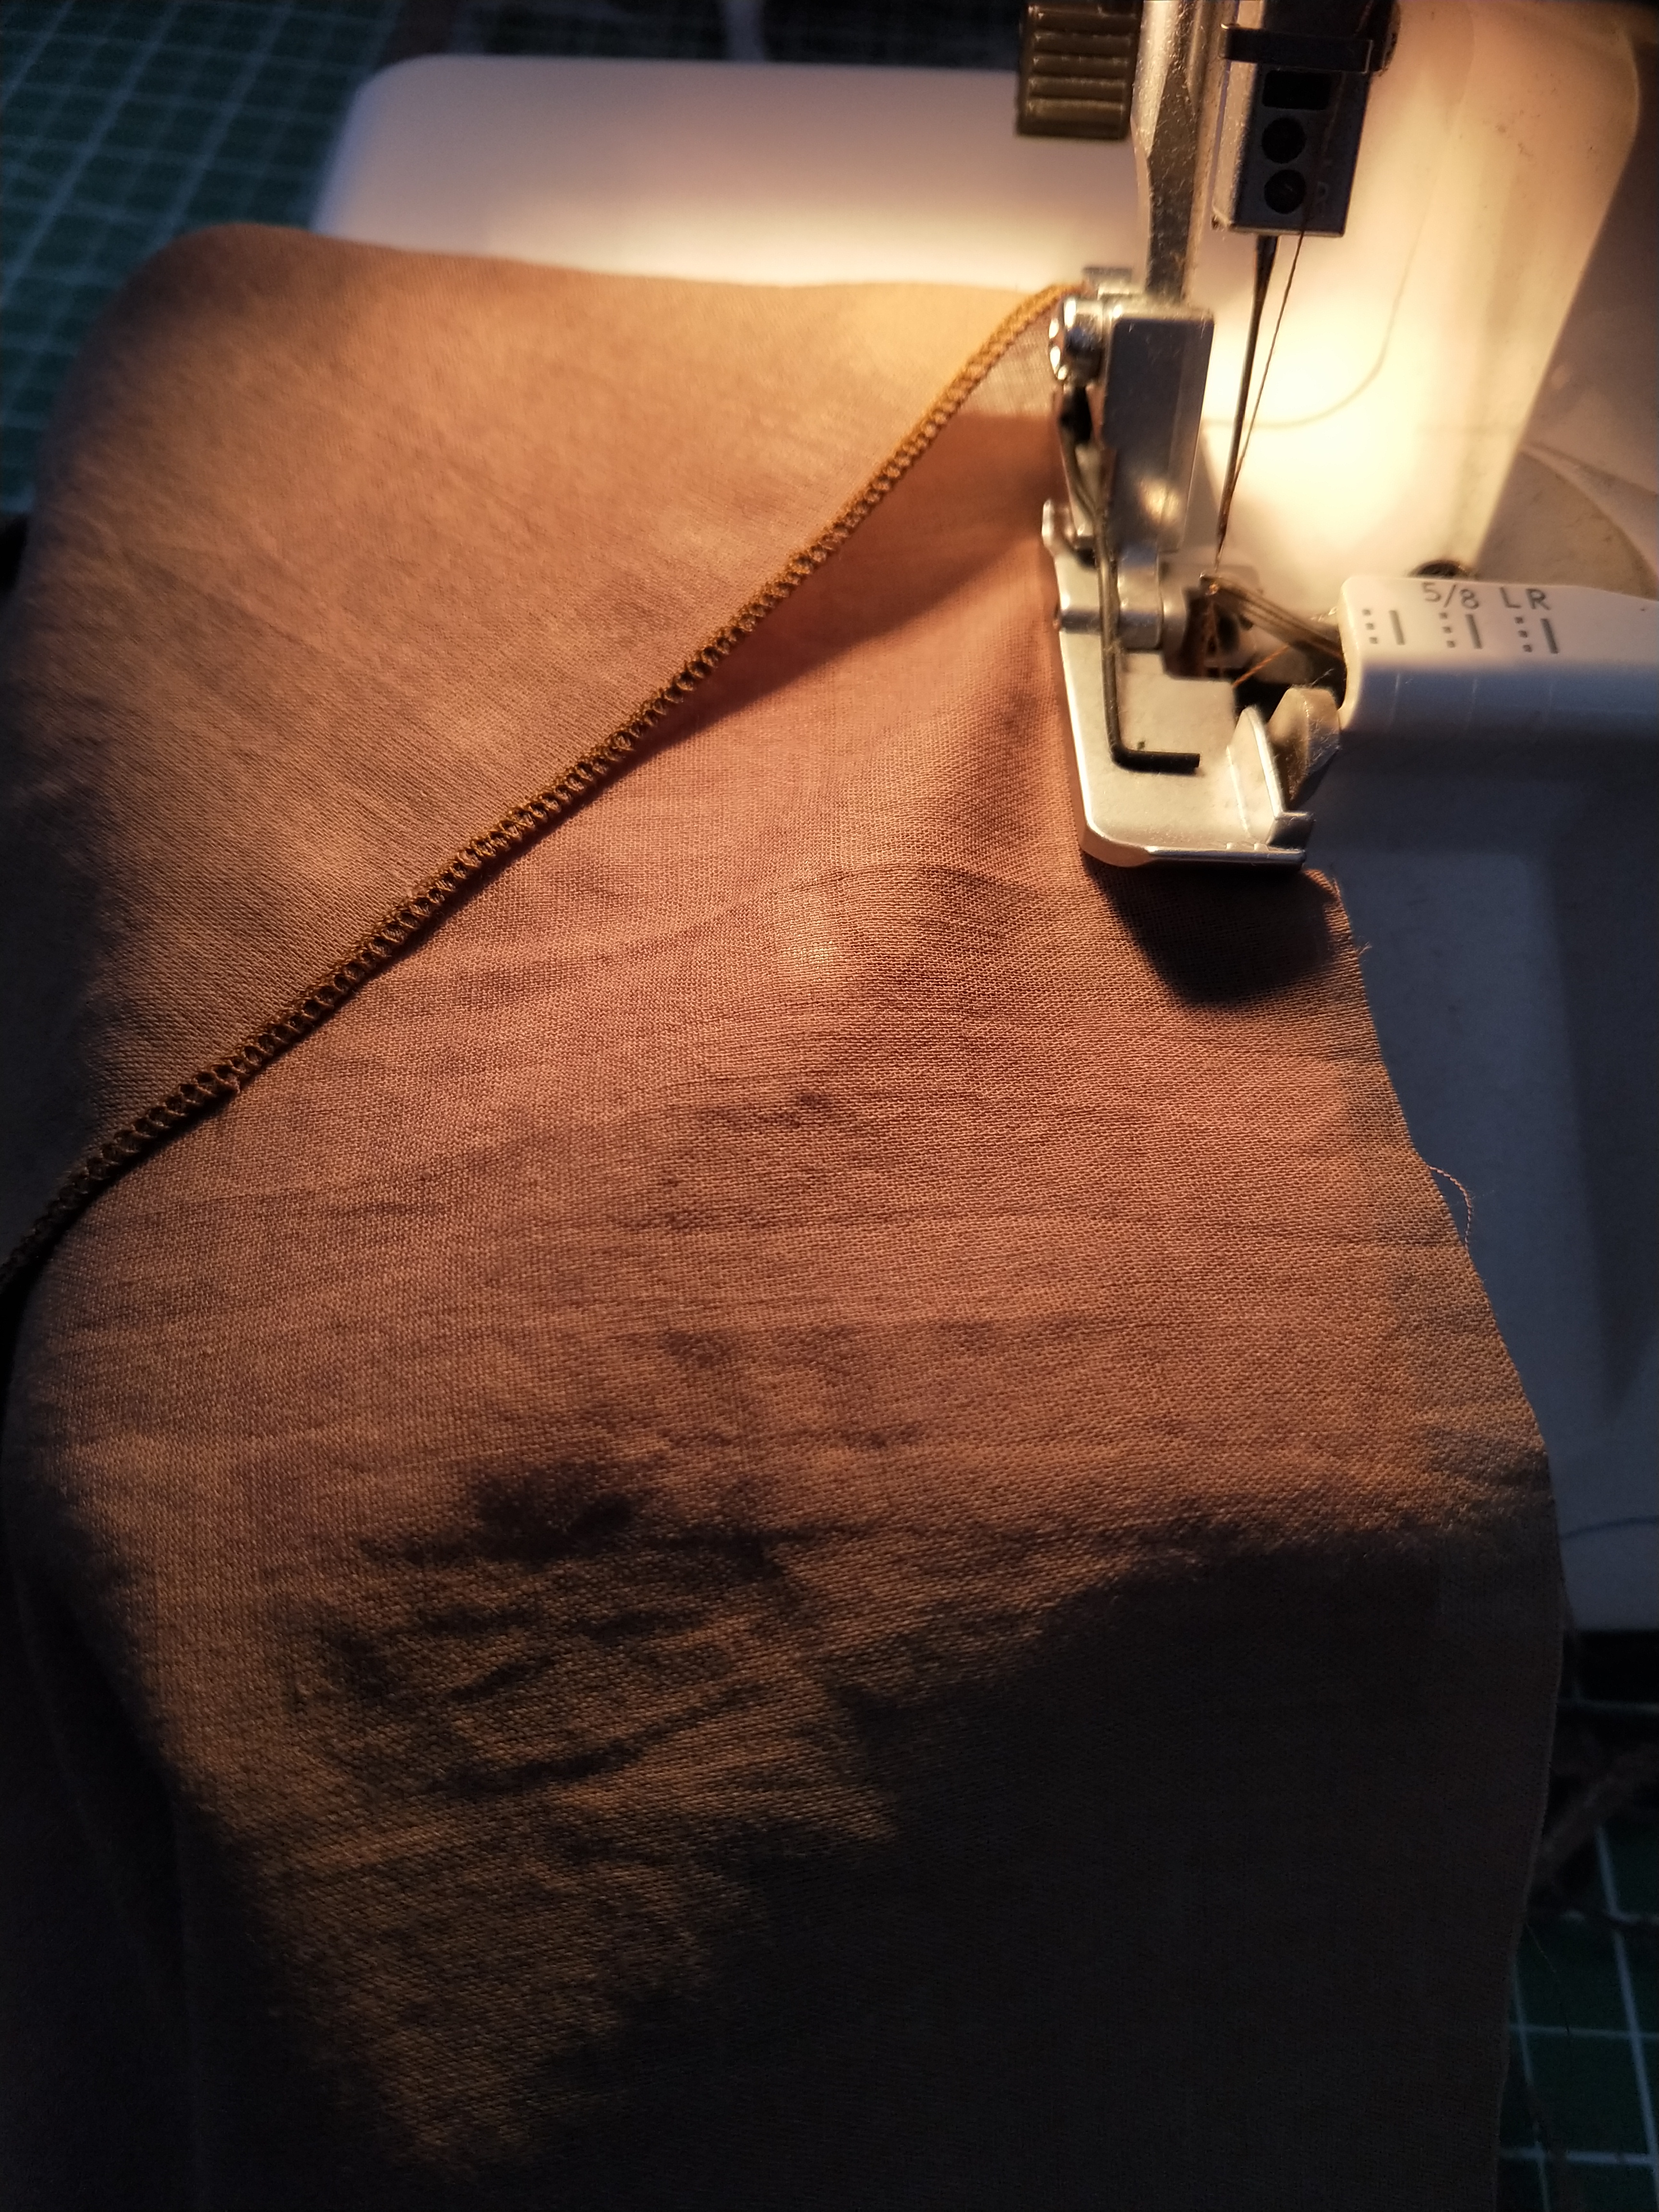
Then sew a very narrow hem around all the edges of the square. I use an overlocker to do a rolled hem but if you don't have one you can figure out how to use a sewing machine stitch or just do a usual but very narrow double folded hem.
Next, here is how to sew the slip on headcovering.
I just pulled apart a ready made one I already had. A sister showed me how to sew this type originally...so thank you sister! It can be a bit tricky but it doesn't have to turn out perfect...just functional:-) Use a lightweight knit fabric.
(I added on extra to the headcovering I had though.)
Here are the measurements I used...
Finish the sides of the triangle. Or you can even skip this step if you like, as knit fabrics don't usually fray. (This will save you a lot of trouble if you skip this actually:-) It may fray a little as it is cut on an angle but not much.
Then hem the long edge...
(It's possible that step can be skipped too though I haven't tried it.) Use a long and narrow zig zag stitch. This keeps some stretch in it so the thread won't break. You may need to stabilise the hem with fusible tape or thin paper if it's puckering up too much as you sew.
Now fold the triangle in half and measure about 25cms (9.5") along the top edge. Mark this on both sides of the fabric. This will give you the right starting point for the next step.
Then unfold and draw a shape starting from the points you drew that looks roughly like this...
As you can see, mine is not the best there:-)
You can make it 5cms (2") from the edge along the straight sides...
And 12 cms (5") up from the bottom point of the triangle...
Just trying to give you some reference points to work with.
This is to mark a line where you will add a gathering stitch next...
Sew with your machine on it's longest stitch length. Do not backstitch. And then pull on one thread to gather the fabric up until it cannot gather any more. Just be careful not to break the thread, so be gentle.
Then pull on either side of the stitch line to straighten it all. (Otherwise you will be sewing bunches of the wrong fabric when you sew the elastic in.)
I use about 12cm (5") of 5mm (1/4") thin elastic...
Pin it in place across the stitch line on the inside of the covering...
You will probably need to stretch it a little as you go to make it reach the other side. Set your machine on a narrow zigzag stitch (test on scrap fabric beforehand) and sew slowly all the way across. You may have to pull it through gently as there's a lot of bulk to sew over.
So now you're done! I hope it turned out well for you... And most of all I hope that you're striving to be a godly woman in all ways as the Lord has changed your heart by the gospel. See that here. Let me know if I can help or encourage you!
Love in Christ,
Michaela