
Greetings sisters!
Today I want to share another sewing tutorial or 'how to' for you in case it can ever be of any help to you. It will be for a simple shirt I was able to make for myself and I'm basically just sharing what I learnt and do. It's a work in progress as I learn to be able to sew simple things that we women need to dress biblically and pleasing to a holy God.
So I've finally got this all together which I have been working on for awhile and so hope it might be of some help to someone now or further down the track.
Just a quick note here first, that I drafted the pattern from a shirt I already had that I liked. It was a long sleeve so I wanted a bit shorter sleeve also. The good thing about sewing your own clothes you can modify things a bit.

Drafting a pattern from an existing shirt is quite simple to do and I am not going into greater depth here but basically copy each part onto some paper (you can use plain white gift paper or similar). The good thing is you can just contact me if anything doesn't make sense or you need any help. And no I don't claim to know much but I just love to sew the simple things we women need to clothe ourselves biblically for God's glory in obedience to Him! And it is a blessing to be able to share with others or help anyone be able to do that for themselves too!
Ok so let's get onto this...
I was asked for the measurements of the pattern I made...so I share the pictures here too. I guess they may be of some use if you didn't have a shirt to copy from and you are a small to average sized woman. That's another good thing we don't care about sizes so much as if it's too big that's fine too.
(Measurements are in cms.)


Not sure if they are any help but I include them anyway:-)
I used plain cotton fabric, and a light weight denim is good too.
I'll apologize that I use both metric and English measurements in this but the tape measures have both most times. And yes the thread doesn't match but that's ok!
Lay the back piece along the fold and cut...

Cut out two front pieces. Depending if your fabric has a right or wrong side you will need to be careful how you cut. (My fabric didn't.) You have to make sure you don't end up with a piece with the wrong side facing out (if that makes sense).


Next time I think I will just combine the back pattern piece with the yoke (as pictured) so as not to add any extra work. I don't see any real need for a yoke (just as I don't for collars).

You will need two strips of interfacing...about 1 inch wide for the button area...

I use this one.


Now stitch down both sides on the front...


Now place a sleeve like this right side down matching the notch with the shoulder seam...

Working carefully with many pins work your way all the way along. This is a bit tricky but I find it interesting to pin two different shapes together.

Then stitch and finish seams. Be very careful in this step. Go slowly as it's a bit more difficult to sew around the curves.


Fold and press in half wrong sides together...
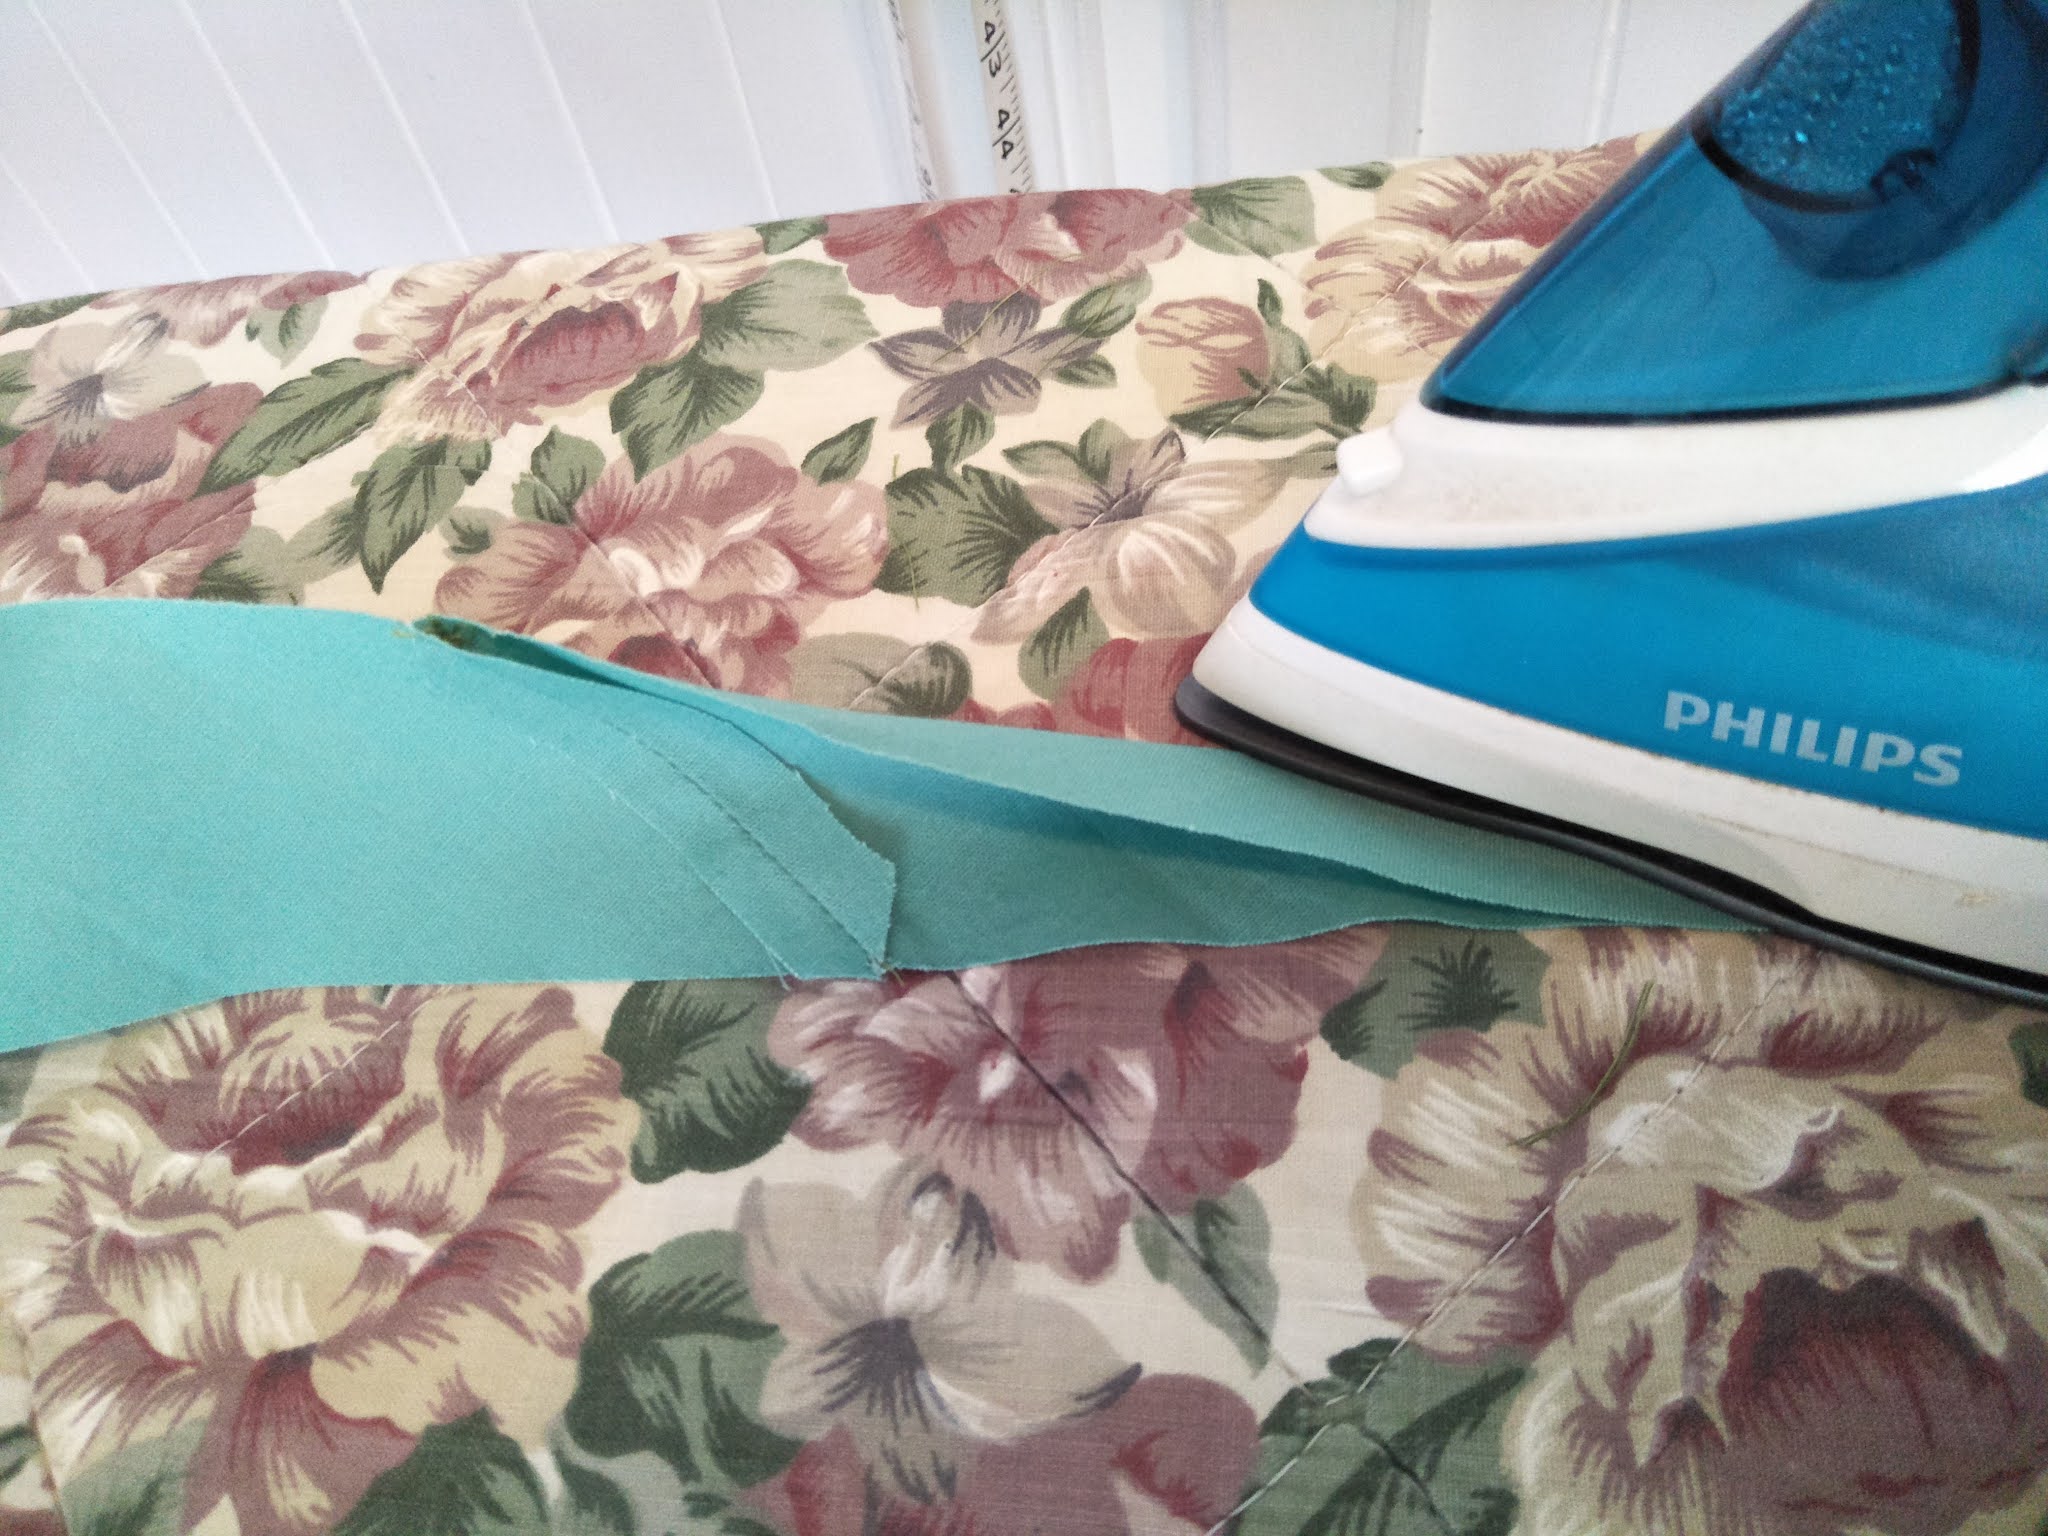

Then fold back in half and press.
Now attach to shirt neckline. Start at the middle on the shirt back and unfold the bias tape matching right sides together as pictured.

Trim the seam allowance a little...

Now it's time for the buttons. I did these 9cm apart. I sewed them on with my machine...but you can hand sew or however works best. I needed 7 buttons.
First check where the top button should be by putting the binding in place and marking the spot where it should be. And then at 9cm (or so) intervals to the bottom.
(The reason I do the buttonholes first before finishing the binding is because I had trouble sewing the buttonholes with the binding in the way of the machine.)


Then mark the place for the holes.
Make sure to test sewing the buttonholes well before starting sewing onto the shirt. It all depends on your sewing machine so I can't say how this is to be done.


Time to sew the rest of the neck bias tape in place.
Now right here in this next step I am going to say I really am not sure how to do this the best way but this is how I did it this time. I know there must be a better way but for now until I have the time to find that this was what I did. You can let me know if you know of a better way.

Trim off the excess bias tape to about 2cm...and press in the edge...

Fold over...


Now you will need to do a tiny bit of handsewing here. I know there must be a better way...but I don't know of it right now. If I learn of it I can come back and modify this and share what I learn:-)
Just stitch through the back side of the bias tape and it won't be visible on the front.

Yep does not look the neatest...but it works for the time being!


Praise God for the providence of clothing!
(You can see some of my earlier posts on how a godly woman is to dress here.)
Let me knew if you have any questions...but hope that can help or give you ideas to sew your own!
Love to you in Christ,
...from one of God's servants
Sister Michaela
Find the gospel to eternal life here.